A Step-by-Step Production Pipeline from Master Image to Multi-Channel Web Assets
Learn how to build a repeatable production pipeline that transforms high-resolution master images into clean, responsive web assets without degrading quality or losing original files.
The Purpose of a Defined Image Pipeline
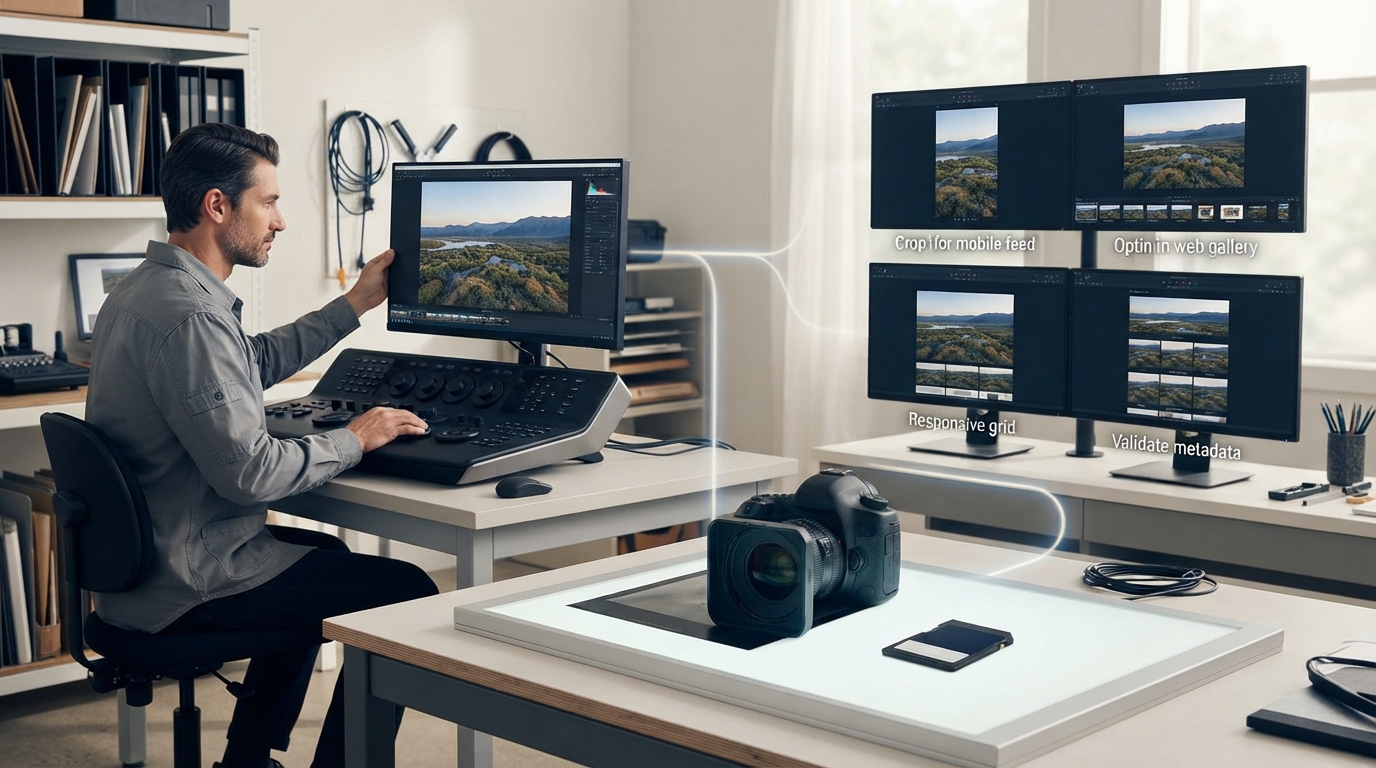
When managing an online store, a content blog, or social channels, jumping directly from an original camera export into a quick crop and upload often leads to inconsistent layouts, bloated page weight, and misplaced source files. A reliable image pipeline establishes a repeatable sequence of stages that processes high-resolution master files into optimized, publication-ready derivatives.
By separating global adjustments, sizing, and final encoding into distinct steps, you ensure that every published image maintains high visual quality while staying within target file sizes. Crucially, a structured pipeline keeps your original master files intact, allowing you to generate new variations in the future without reshooting or re-editing from scratch.
Stage 1: Archiving and Preserving the Master Source
Your pipeline should always begin with strict preservation of the original input. A master image is the highest-quality version available, typically a raw camera capture, an uncompressed TIFF, or a high-resolution JPEG exported directly from a design tool.
Store your master files in a dedicated, read-only directory organized by project, SKU, or date. Never apply destructive crops, downscaling, or lossy compression directly to these originals. Working exclusively on duplicates guarantees that if a platform changes its recommended dimensions or if an edit goes wrong, your source material remains fully intact.
Stage 2: Master Corrections and Global Adjustments
Before generating specific sizes for different platforms, apply all visual adjustments that apply universally to the subject. This includes leveling horizons, correcting perspective distortion, balancing exposure and white balance, and cleaning up background blemishes or dust spots.
Performing these edits once on the full-resolution master duplicate prevents you from having to repeat basic retouching across three or four different output formats. Once the image looks clean and color-accurate, save this state as your working master. From this single baseline, you will derive every specific publication asset.
Stage 3: Deriving Specific Aspect Ratios and Pixel Dimensions
Different digital channels require different framing. For example, an e-commerce catalog might require a 1:1 square crop, while a blog banner demands a 16:9 ratio, and a social story needs 9:16 vertical framing. Crop the working master to these specific targets individually, ensuring the main subject remains balanced and well-framed within each boundary.
After establishing the correct framing, scale the pixel dimensions down to match your target layout. It is essential to distinguish between pixel dimensions—the actual width and height in pixels—and file size, which measures digital storage weight in kilobytes. Never upscale smaller derivatives to fit larger containers; always downscale directly from the high-resolution working master to prevent blurriness and visual interpolation artifacts.
Stage 4: Format Selection and Final Compression
The final transformation step converts the resized derivative into an efficient, deliverable format. Select modern web formats such as WebP or AVIF for website use when browser compatibility permits, falling back to standard JPEG for photographic content or PNG when transparent backgrounds are mandatory.
Apply targeted compression to reduce file size without introducing obvious compression artifacts, such as banding in gradients or blockiness around high-contrast edges. For illustrative purposes, an uncompressed master image measuring 4000 by 3000 pixels might be resized to a 1200 by 900 pixel blog hero asset; with balanced lossy WebP compression, the resulting file can drop from several megabytes down to an illustrative 120 to 180 kilobytes while remaining visually sharp on high-density screens.
Stage 5: Quality Assurance and Metadata Verification
Before uploading assets to your content management system or distribution tools, run a final verification pass across three core criteria: visual clarity, dimensional accuracy, and metadata cleanliness.
Inspect the export at 100 percent scale on a desktop display to confirm that fine details remain sharp and free of halos. Check the file properties to verify the exact pixel dimensions match your technical requirements. Finally, strip unnecessary camera metadata, such as private GPS location coordinates and serial numbers, while ensuring necessary accessibility elements, like descriptive alt text, are prepared for entry upon upload.
Next Steps: Standardizing Your Output Presets
To speed up future production runs, document your target dimensions, aspect ratios, and format requirements in an export cheat sheet. Most photo editors and command-line batch utilities allow you to save these export presets, enabling you to produce an entire suite of multi-channel derivatives from a single corrected master with minimal repetitive effort.
Try an idea and review your result before saving your edits.